Sunday 31 March 2013

Installing CISS on Epson TX 121x - Part 3

Continuing older post, waste ink


put everything back on, top cover and the panel

screw them up

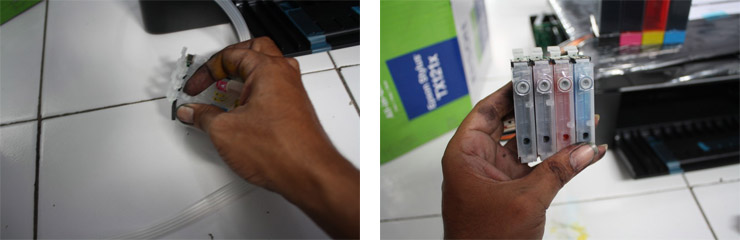
put some glue on the ink thank, make sure it strong enoungh

Now go to the back side of your tx 121x, open the back door, you will see the waste ink pad

put some small pipe, get the waste ink pipe a bit longer

thats the way the pipe trough the back door, no need to make a new hole

here we go, just put an empty botttle for the waste ink

You done, put your name on it, make sure it visible :) 

hope thats help... cheers !! 

Saturday 15 December 2012

Installing CISS on Epson TX 121x - Part 2

Continued Post :p
Next step, make the entrance hole for tubing.


Make sure the tube has enough length to reach the edge of head position, cut it if necessary


Fill some ink just to make sure that we put correct colour to rhe catridge, place the knee connector


Place every knee connector to its place, responding to its color, full fill the ink tank now, put on a higher place and let the ink flow to the cartridge


Pull of the tip, to release the air inside the cartridge and let the ink flow inside, let them fill slowly, you can stop when it reach at least a half.


When you done, put the cartridge on the head, place the tube figured bellow, tied them up with cable ties


When you've done tied them, move the print head to left and right, mamke sure everything work fine


well, that all for the part two, next ... installing the waste ink  ... on the next part off course :p

Thursday 13 December 2012

Installing CISS on Epson TX 121x - Part 1


In this post I would like to share about installing CISS - Continuous Ink Supply System on Epson TX 121x, this printer type is most affordable multi function printer of Epson, by installing this CISS we can easily fill the ink tank.


Preparation
  • Printer Itself; CISS Kit & the Ink - Put the box on the left side of the printer, it will be useful for further need.

Dismantling TX 121x Cover
Open the button panel, there is one screw beneath the panel, open the nuts using Phillips Screwdriver


Remove the front cover by pulling the middle part of it, Open nut over there


Open two more screw  


Push right hand side body outside - Now we can easily lift up the scanner unit


Lay the scanner unit on the Left BOX
These steps also as a guidance for disassembly  , particularly this procedure only takes less than 2 minutes